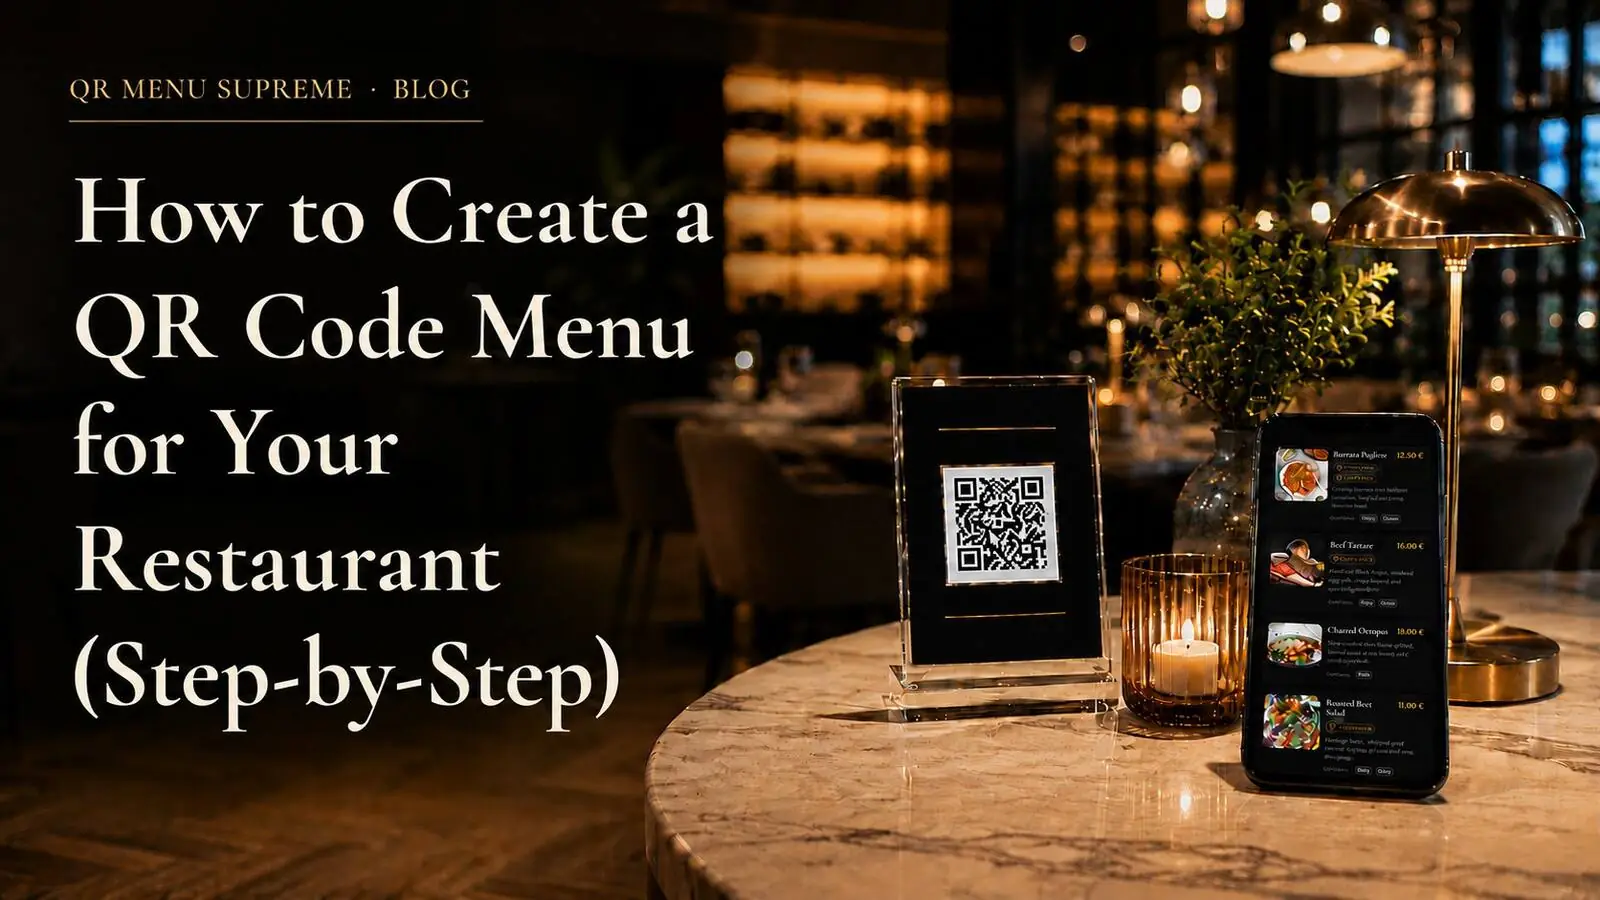
How to Create a QR Code Menu for Your Restaurant (Step-by-Step)
It's Simpler Than Most Restaurant Owners Expect
The phrase "QR code menu" sounds more technical than it is. For most restaurant owners, the mental image involves software, web development, maybe a graphic designer. Something that needs an IT person or a freelancer to set up.
In practice, setting up a QR code menu takes a few hours on a quiet afternoon. No technical background required. No code to write. No web developer to hire.
What it does require is some preparation before you open any platform: your menu content organized and ready to enter, decisions made about what you want the digital menu to do, and a clear idea of how you'll display the QR code at the table.
This guide walks through the full process from start to finish. It covers what to prepare before you begin, how to choose a platform that fits your needs, how to build the menu itself, and how to generate and place the QR code so guests actually use it. The steps apply whether you're setting up a digital menu for the first time or replacing a tool that isn't working.
What to Think About Before You Start
Jumping straight into a platform before making a few basic decisions leads to rework. Spend 15 minutes on these questions first, and the setup process becomes significantly smoother.
What do you want the QR menu to do?
There are three levels of functionality, and they affect which platform you choose:
Display only: guests scan the code and see the menu. They still order through staff. This is the simplest setup and requires the least configuration.
Display plus ordering: guests can browse and place their order directly from their phone. Staff handle delivery but not order-taking.
Display, ordering, and payment: guests order and pay entirely through the phone. The full self-service model.
You don't need to commit to the most advanced option immediately. Many restaurants start with display-only and add ordering later once staff and guests are comfortable. The important thing is knowing which level you're targeting on day one, so you don't choose a platform that can't grow with you.
How many menus do you have?
A restaurant that runs a lunch menu, a dinner menu, and a drinks menu separately needs a platform that supports multiple menus or time-based switching. A café with a single all-day menu has no such requirement. Either way, map out your menu structure before you start entering content.
Do you serve guests who speak different languages?
If a meaningful portion of your guests are international visitors or speakers of a language other than the one your printed menu is written in, multilingual support should be on your checklist. The stronger platforms translate from a single working language, open the menu automatically in the guest's device or browser language on a first visit when that translation is available, fall back to the restaurant's working language when it is not, and still let guests switch language manually. A later visit should remember that choice.
Do you want to include photos?
Photos increase order rates on digital menus, particularly for dishes that are hard to describe in words alone. If you want to include them, you'll need images ready: ideally one photo per dish, shot in reasonable light. You don't need a professional photographer, but blurry phone photos taken under restaurant lighting don't help. If you don't have photos ready, you can add them later.
Step 1: Choose a QR Menu Platform
The platform you choose determines everything that follows. The market has options ranging from basic free tools to full-featured restaurant management systems. For a small independent restaurant, café, or bar, the relevant range sits somewhere between a simple display tool and a platform with integrated ordering and payment.
Key things to look for:
No coding required. The platform should have a visual editor where you add menu items, categories, prices, and photos without touching any code.
Mobile-first display. The menu should load cleanly on a phone screen without requiring guests to zoom or scroll awkwardly. Test this before committing.
Real-time updates. When you change a price or remove a dish, the change should be live immediately. Any platform that requires you to "republish" and wait is adding unnecessary friction.
Multilingual support. Even if you don't need it today, it's worth having available.
Ability to grow. If you start with display-only, make sure the platform can add ordering and payment later without requiring you to rebuild the menu from scratch.
Free plan or trial. A platform worth using should let you test it before you pay for it. QR Menu Supreme offers a free plan that covers the core functionality, which makes it a practical starting point for restaurants that want to evaluate before committing.
Take one hour to explore one or two platforms before settling on a choice. Most offer a demo or a free tier. Build a test menu with three or four items and see how it feels.
Step 2: Organize Your Menu Content Before You Enter It
The most common time-waster during setup is entering menu content directly into a platform while simultaneously deciding how to organize it. The two tasks conflict with each other and slow both down.
Before opening the platform, prepare the following:
A category structure. Decide how the menu will be organized: Starters, Mains, Desserts, Drinks is the standard for most restaurants. A bar might use Beer, Wine, Spirits, Cocktails, Non-Alcoholic. A café might use Coffee, Tea, Cold Drinks, Food. Whatever structure makes sense for your operation, decide it in advance.
A complete item list. Go through your current printed menu and list every item with its name, description, and price. This becomes your source document for entering content into the platform.
Allergen and dietary information. If you plan to include this (and you should), collect it now rather than going back to fill it in later. The categories to cover are typically: gluten, dairy, nuts, eggs, shellfish, and whether items are vegetarian or vegan.
Photos, if using them. Organize photos by category. Name the files by dish name so you can find them quickly during upload. Aim for images that are at least 800 pixels wide and in good natural light.
Having all of this ready before touching the platform means setup is a data-entry task, not a decision-making task. It goes much faster.
Step 3: Build the Menu
With your content organized, building the menu in a platform like QR Menu Supreme is straightforward.
Create your categories first. Most platforms let you add categories and then populate them with items. Set up the full category structure before adding any items, so you're not reorganizing as you go.
Add items one category at a time. Work through the menu systematically. For each item, enter the name, description, price, and any allergen or dietary flags. Add a photo if you have one. Move to the next item.
Write descriptions that are useful, not decorative. A description like "Our famous slow-cooked lamb shoulder with seasonal vegetables and house jus" tells a guest what they're getting. "A mouth-watering dish crafted with passion" tells them nothing. Useful descriptions also help guests with dietary restrictions make decisions without asking staff.
Check prices twice. Pricing errors in digital menus are easy to make and easy to miss until a guest notices. After entering everything, go through the menu once specifically to verify prices.
Preview on a phone before publishing. Most platforms have a preview mode. Use it, but use it on an actual phone screen rather than a browser window on a desktop. The experience guests have is on a 6-inch screen, not a 27-inch monitor. If the menu is hard to navigate on your phone, it needs adjustment before it goes live.
Step 4: Generate the QR Code
Once the menu is live on the platform, generating the QR code is typically a single button click. The platform creates a unique URL for your menu and encodes it into a QR image.
A few practical points about the QR code itself:
Download a high-resolution version. You'll be printing this, and a low-resolution image will look blurry in print. Most platforms offer a download option specifically for print use. Use it.
Test the code before printing anything. Scan the downloaded QR code with two or three different phones to confirm it loads the correct menu, loads quickly, and displays correctly on each device. Do this before committing to a print run.
If you plan to enable table ordering later, note that each table will need its own unique QR code so the platform can identify which table is placing an order. For display-only setups, a single shared code works fine. Plan for this distinction if ordering is in your roadmap.
Step 5: Place the QR Code at the Table
A QR code that guests don't notice or don't understand how to use is a QR code that doesn't work. Placement and presentation matter.
Choose a format that fits your space. Common options include:
Table tents: a folded card that stands on the table, with the QR code printed on one or both faces. Works well in most settings. Easy to produce at a local print shop for a few dollars per unit.
Stickers: applied directly to the table or a tray. More permanent, harder to replace if the format changes, but low-profile and clean.
A card attached to the physical menu: if you're running both formats simultaneously, attaching a small card with the QR code to the physical menu folder is a natural bridge.
Acrylic stands: a more premium option for restaurants where table presentation matters. The QR code is placed inside a small acrylic holder. Durable and easy to clean.
Include a brief instruction line. Not every guest automatically knows to open their phone camera to scan a QR code. A short line next to the code resolves this: "Point your camera here to view the menu" or "Scan to see our menu and order." One sentence. Nothing more is needed.
Make sure the code is scannable from seated height. Place the table tent or card where it will naturally be within scanning range of a guest who is seated. A QR code that's flat on the table and partially obscured by glasses and cutlery won't get scanned.
Test the placement before your next service. Sit at a table during a quiet moment and go through the experience as a guest would: pick up the card, open the camera, scan, wait for the menu to load. If anything in that sequence feels awkward, fix it before guests encounter it.
Step 6: Brief Your Staff
This is the most overlooked step. A QR menu that staff don't understand or don't mention to guests will be ignored by a large portion of your tables.
Staff briefing doesn't need to be long. It needs to cover three things:
What the QR code does. Staff should know what happens when a guest scans it: what the menu looks like, how it's organized, and whether ordering or payment through the phone is enabled.
How to introduce it. A simple line at the start of the interaction is enough: "You can also view the menu by scanning the QR code on the card if you prefer." No pressure, no lengthy explanation. Just an offer.
What to do if a guest has trouble. Staff should be able to help a guest scan a QR code and load the menu. This takes 20 seconds and happens rarely, but staff who don't know how to help will be visibly uncertain, which reflects poorly on the restaurant.
Comparison: Setup Approaches by Restaurant Type
| Type | Recommended starting setup | Time to go live |
|---|---|---|
| Café, single all-day menu | Display-only, single menu, no photos | 1 to 2 hours |
| Bar with rotating drinks list | Display-only, real-time updates priority | 2 to 3 hours |
| Independent restaurant, full menu | Display-only or ordering, with photos | 3 to 5 hours |
| Restaurant with multiple menus | Display-only, multiple menus or time-based | 4 to 6 hours |
| Restaurant wanting full ordering and payment | Full setup with per-table QR codes | Half day |
Frequently Asked Questions
Do I need a website to have a QR code menu?
No. QR menu platforms host your menu on their own infrastructure. The QR code links to a page on the platform, not to your own website. You don't need to own a domain or manage any hosting to get started.
What if my menu changes frequently?
That's actually the strongest argument for a QR menu. Updates take minutes and are live immediately. A restaurant that changes its specials daily, adjusts prices seasonally, or rotates dishes based on availability benefits more from a digital menu than one with a fixed menu that rarely changes.
Can I use a QR menu if I don't have strong Wi-Fi in the dining room?
Guests need a working internet connection to load the menu. If your dining room doesn't have reliable Wi-Fi, the experience will be inconsistent. Extending your Wi-Fi coverage to the dining area is a worthwhile prerequisite and typically inexpensive to arrange with a basic router or access point.
How long does setup take in total?
For a small restaurant or café with a straightforward menu and no photos, expect two to three hours from opening the platform to having a live QR code ready to place on tables. With photos and a more complex menu structure, allow a full afternoon.
Can I update the menu from my phone?
On most platforms, yes. If you're mid-service and need to pull a dish that's run out, you can make that update from your phone in under a minute. The change is live immediately across all tables.
Conclusion
Setting up a QR code menu is a half-day task, not a project. The technical complexity is low. The decisions that actually take time are the ones about content and structure, and those decisions are faster when you make them before you sit down at the platform.
The process in summary: decide what you want the menu to do, choose a platform that supports it, organize your content before entering it, build the menu category by category, generate and test the QR code, decide how to display it at the table, and brief your staff so guests actually use it.
For restaurants that want to start without a financial commitment, QR Menu Supreme's free plan covers the core setup and lets you test the full experience before moving to a paid plan. For those ready to add ordering and payment from day one, the platform supports both from the same interface, with each table assigned its own QR code when ordering is enabled.
The first scan from a real guest at a real table is usually the moment restaurant owners realize the setup time was worth it.
See a live QR menu in 10 seconds
Browse the showcase demo restaurant, built with QR Menu Supreme.